Manage Tenants
lexbizz DevOps tool provides a default set of Tenants along with the installation of lexbizz/Acumatica application. As of now it is not possible to specify a list of Tenants during an installation or update process. This is a requested feature and will be implemtented in 3.2 version of lexbizz DevOps tool.
With the current version of lexbizz DevOps tool, tenant management can be achieved with a few manual steps.
Add New Tenant on an lexbizz Instance
Install lexbizz Application on your local machine.
After installation, open Instances screen and browse the install location.
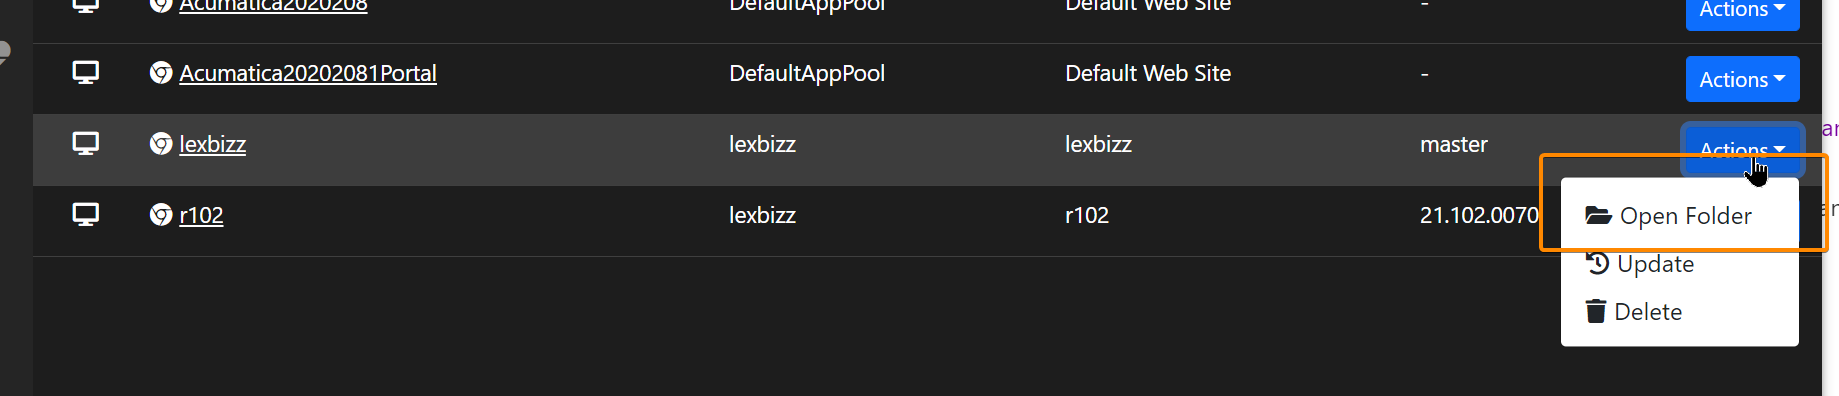
Navigate to the Data folder as shown below
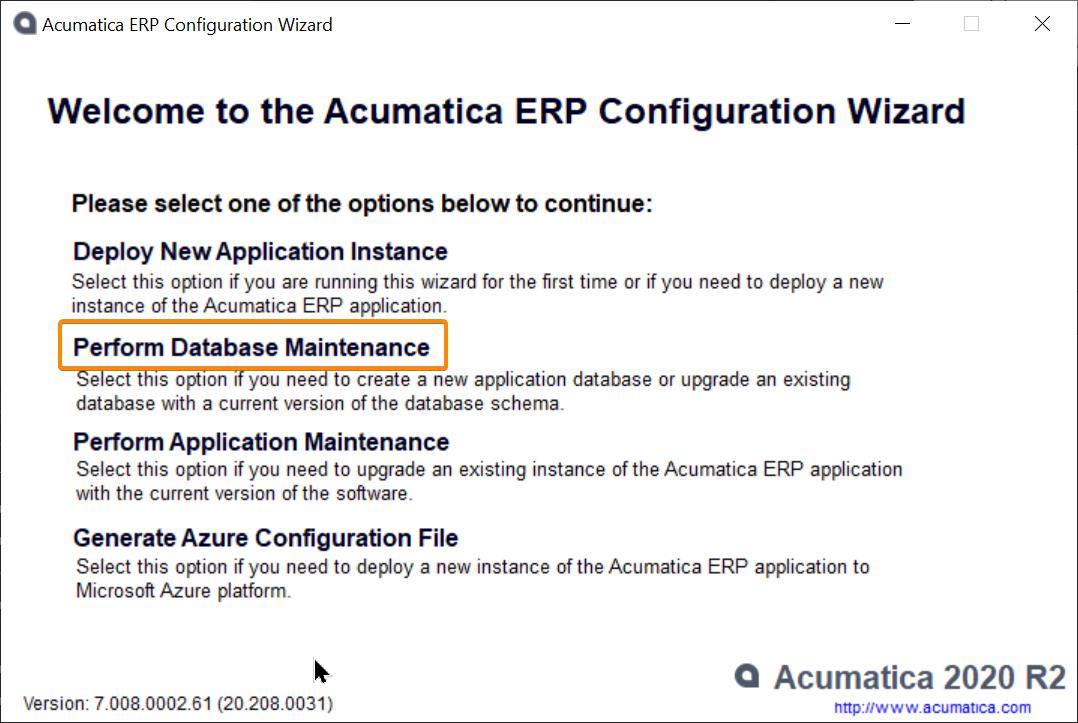
Double click on the ac.exe file. This will start the Acumatica Configuration Wizard.
Click on Perform Database Maintenance
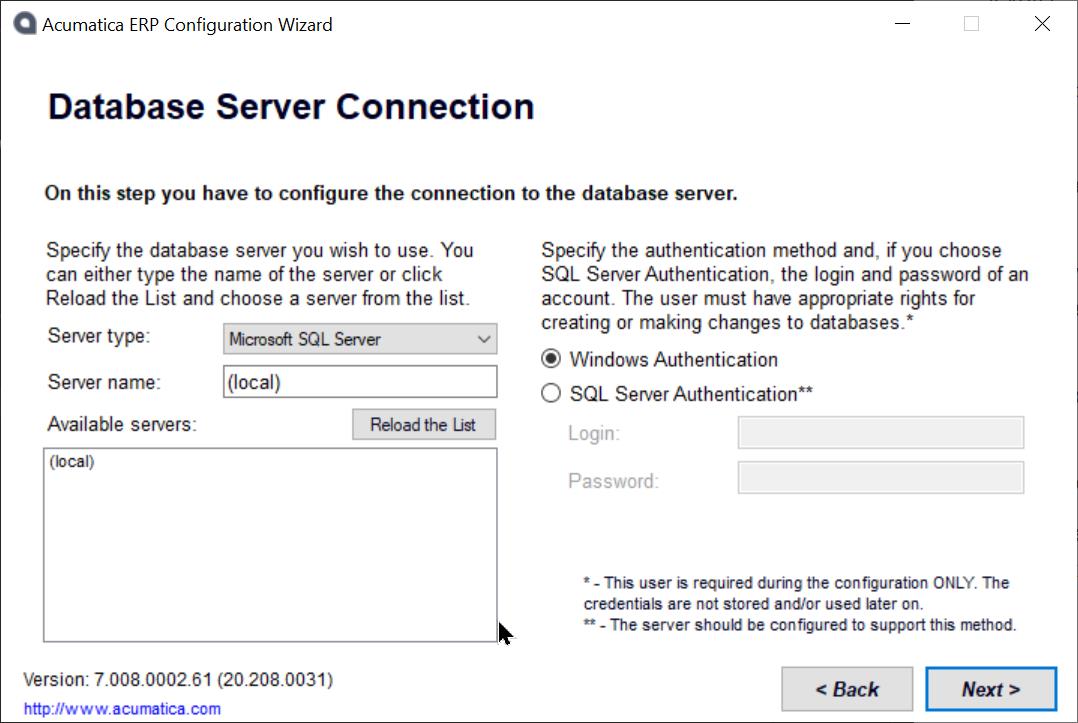
Enter a database server, authentication details and click on Next button.
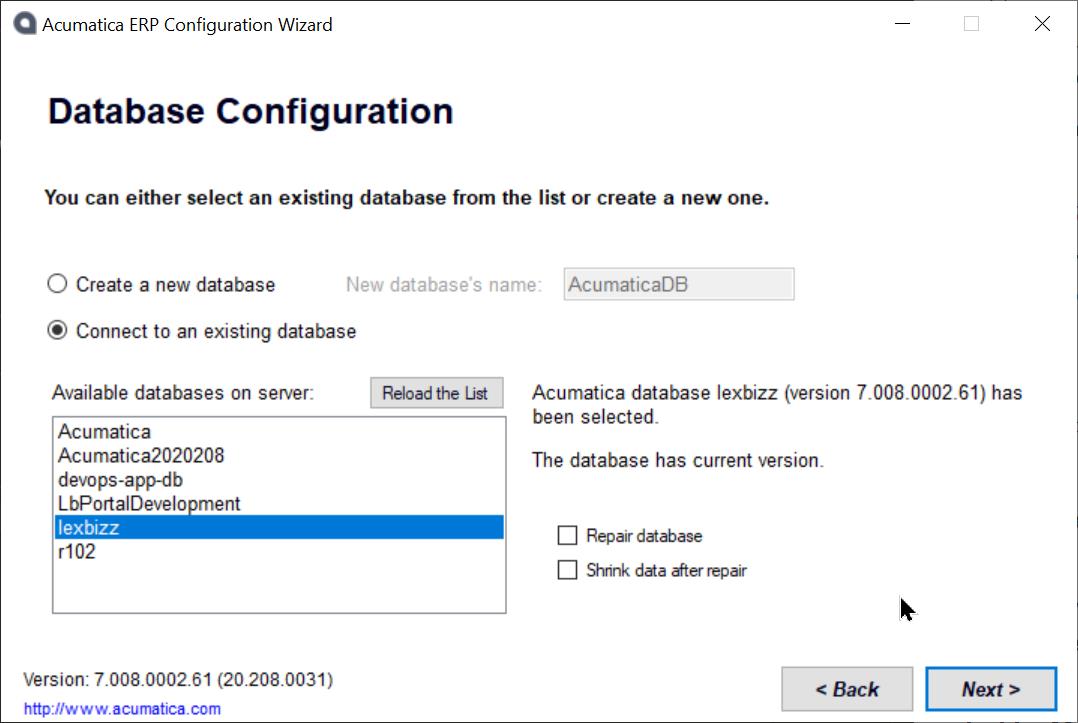
Connect to an existing database and click next. lexbizz DevOps tool creates a database with a name same as that of Application Name.
Click on New button to Add a new tenant.
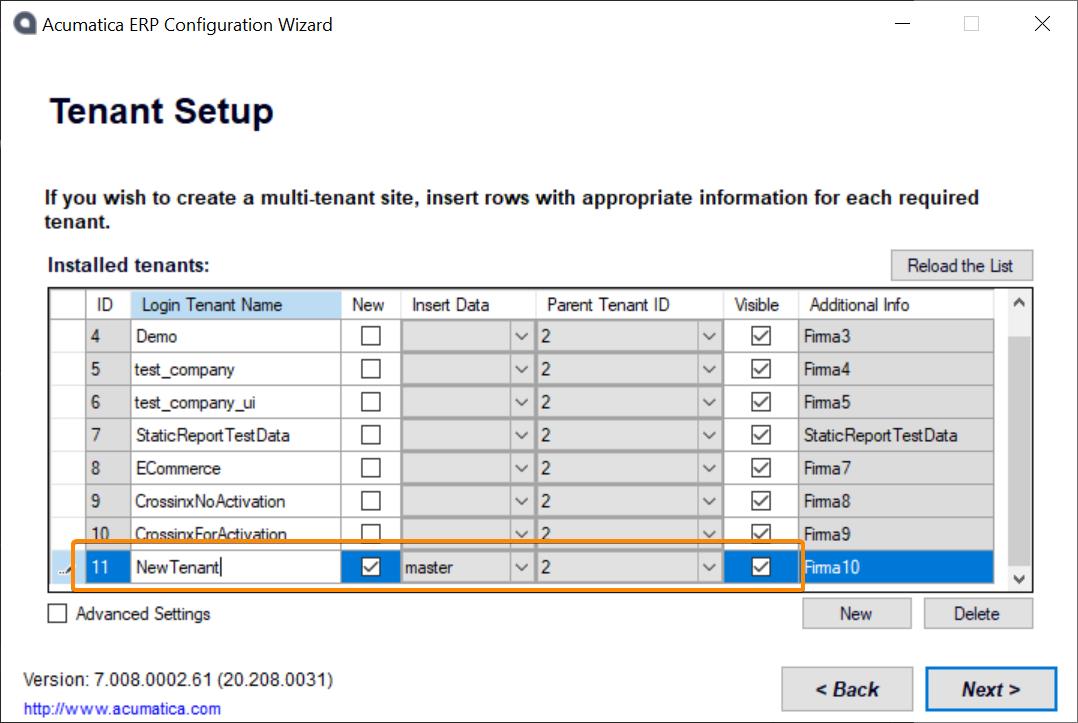
Enter Login Tenant Name,
Select master from the dropdown list of Insert Company Data Column
Set Parent Tenant Id as 2
Use New button to add more tenant.
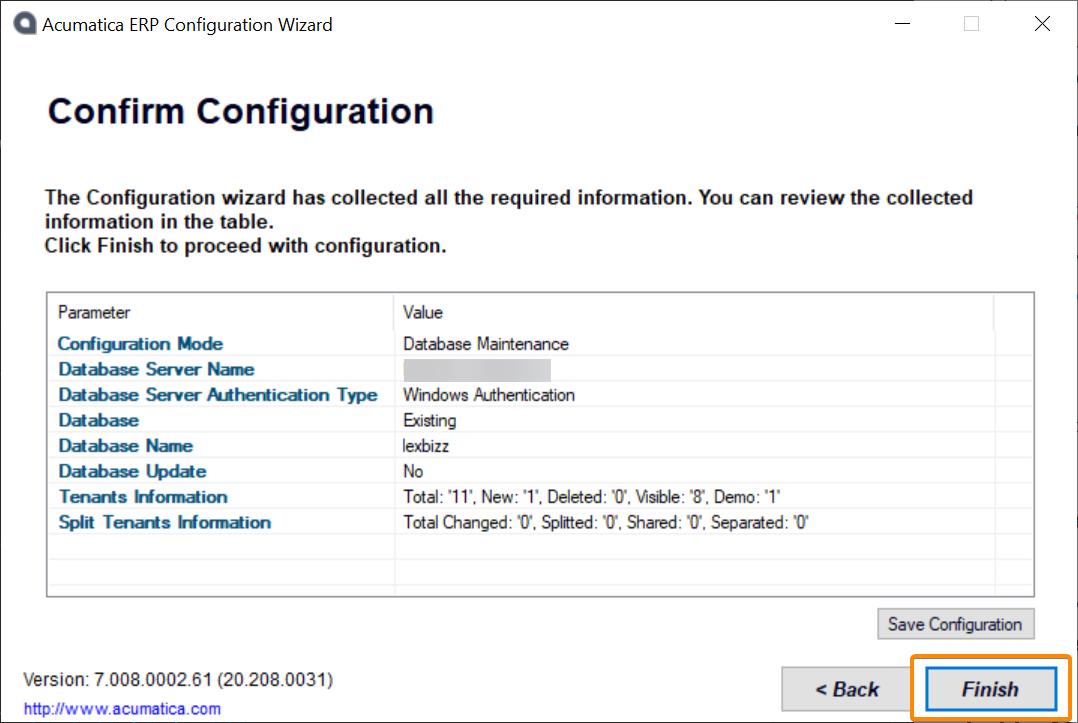
ℹ️ INFORMATIONAlways use the Parent Tenant ID as 2 and Insert Data with master. Do not use Demo as an Insert Data Value.Click Next and finish the process.
After completion restart IIS or recycle lexbizz AppPool.