Tenant Management
Tenant Management feature allows you to create multiple tenants with different datasets on a local instance. This feature is available for lexbizz and Acumatica Application. lexbizz and Acumatica Applications provide differnet set of templates. Tenants can either be specified at the time of instance installation or later after the installation.
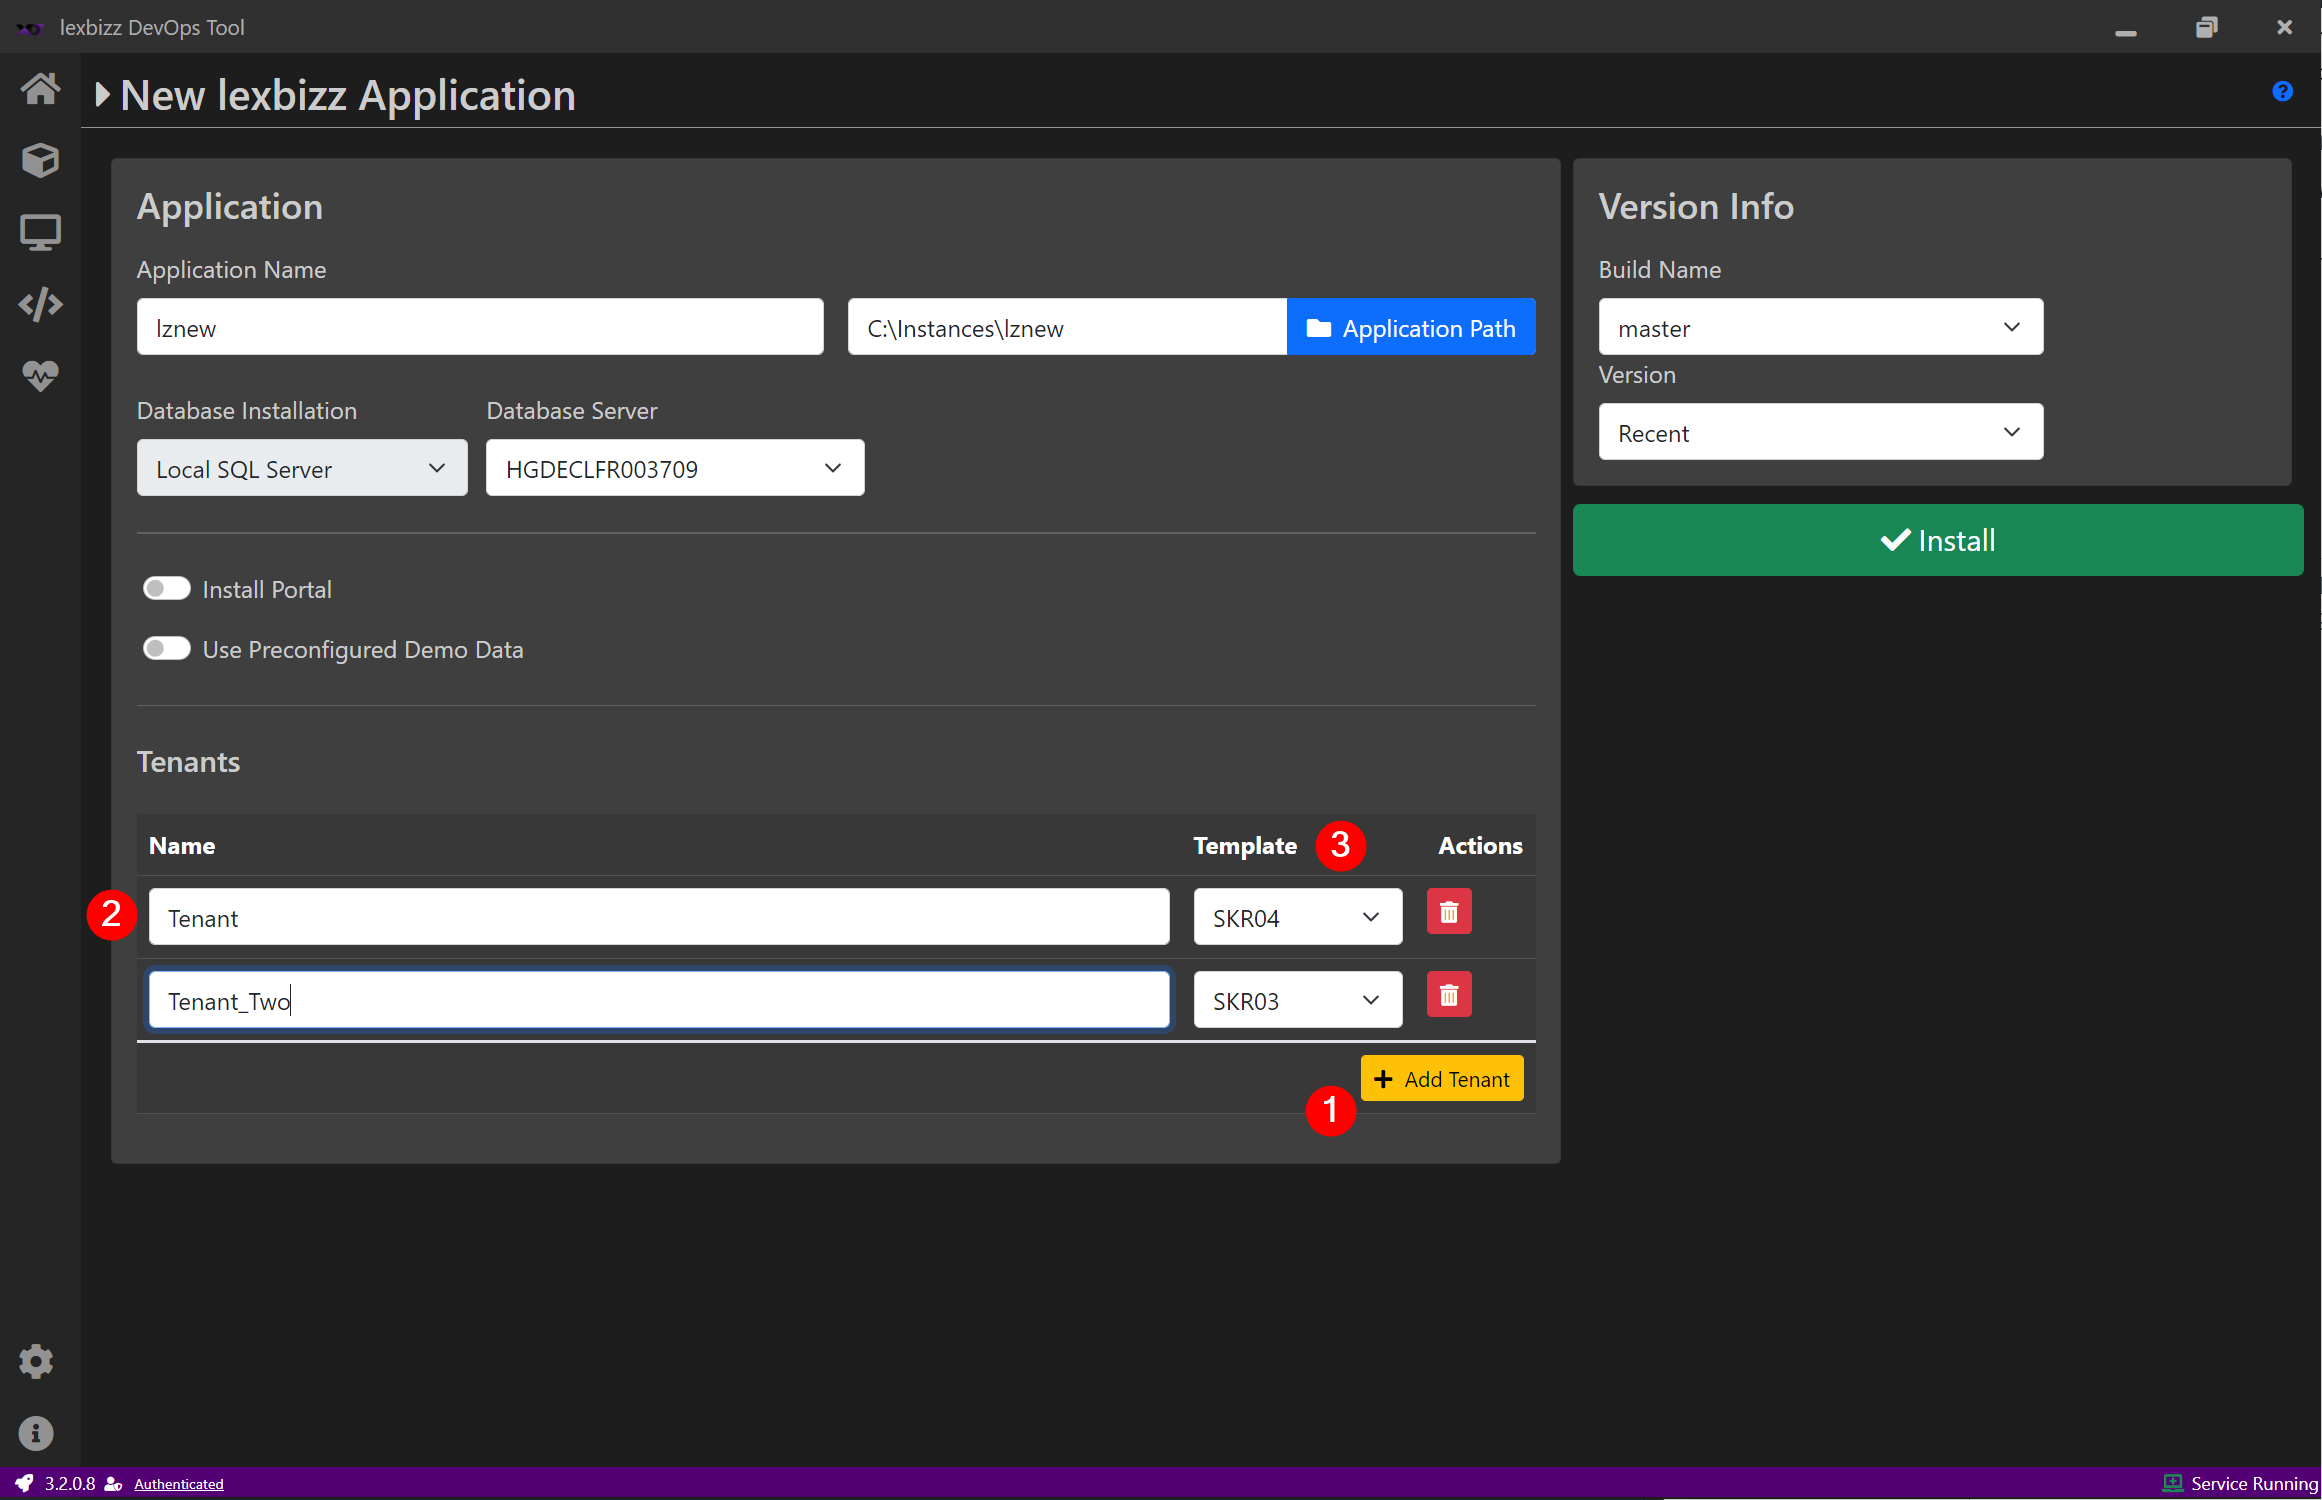
Add Tenants during Installtion Process
Click on Install lexbizz or Install Actumatica button from Applications screen.
Enter All required details.
Under Tenants Section,
Click on Add Tenant
Enter Tenant Name
Select Tenant Template from the dropdown list
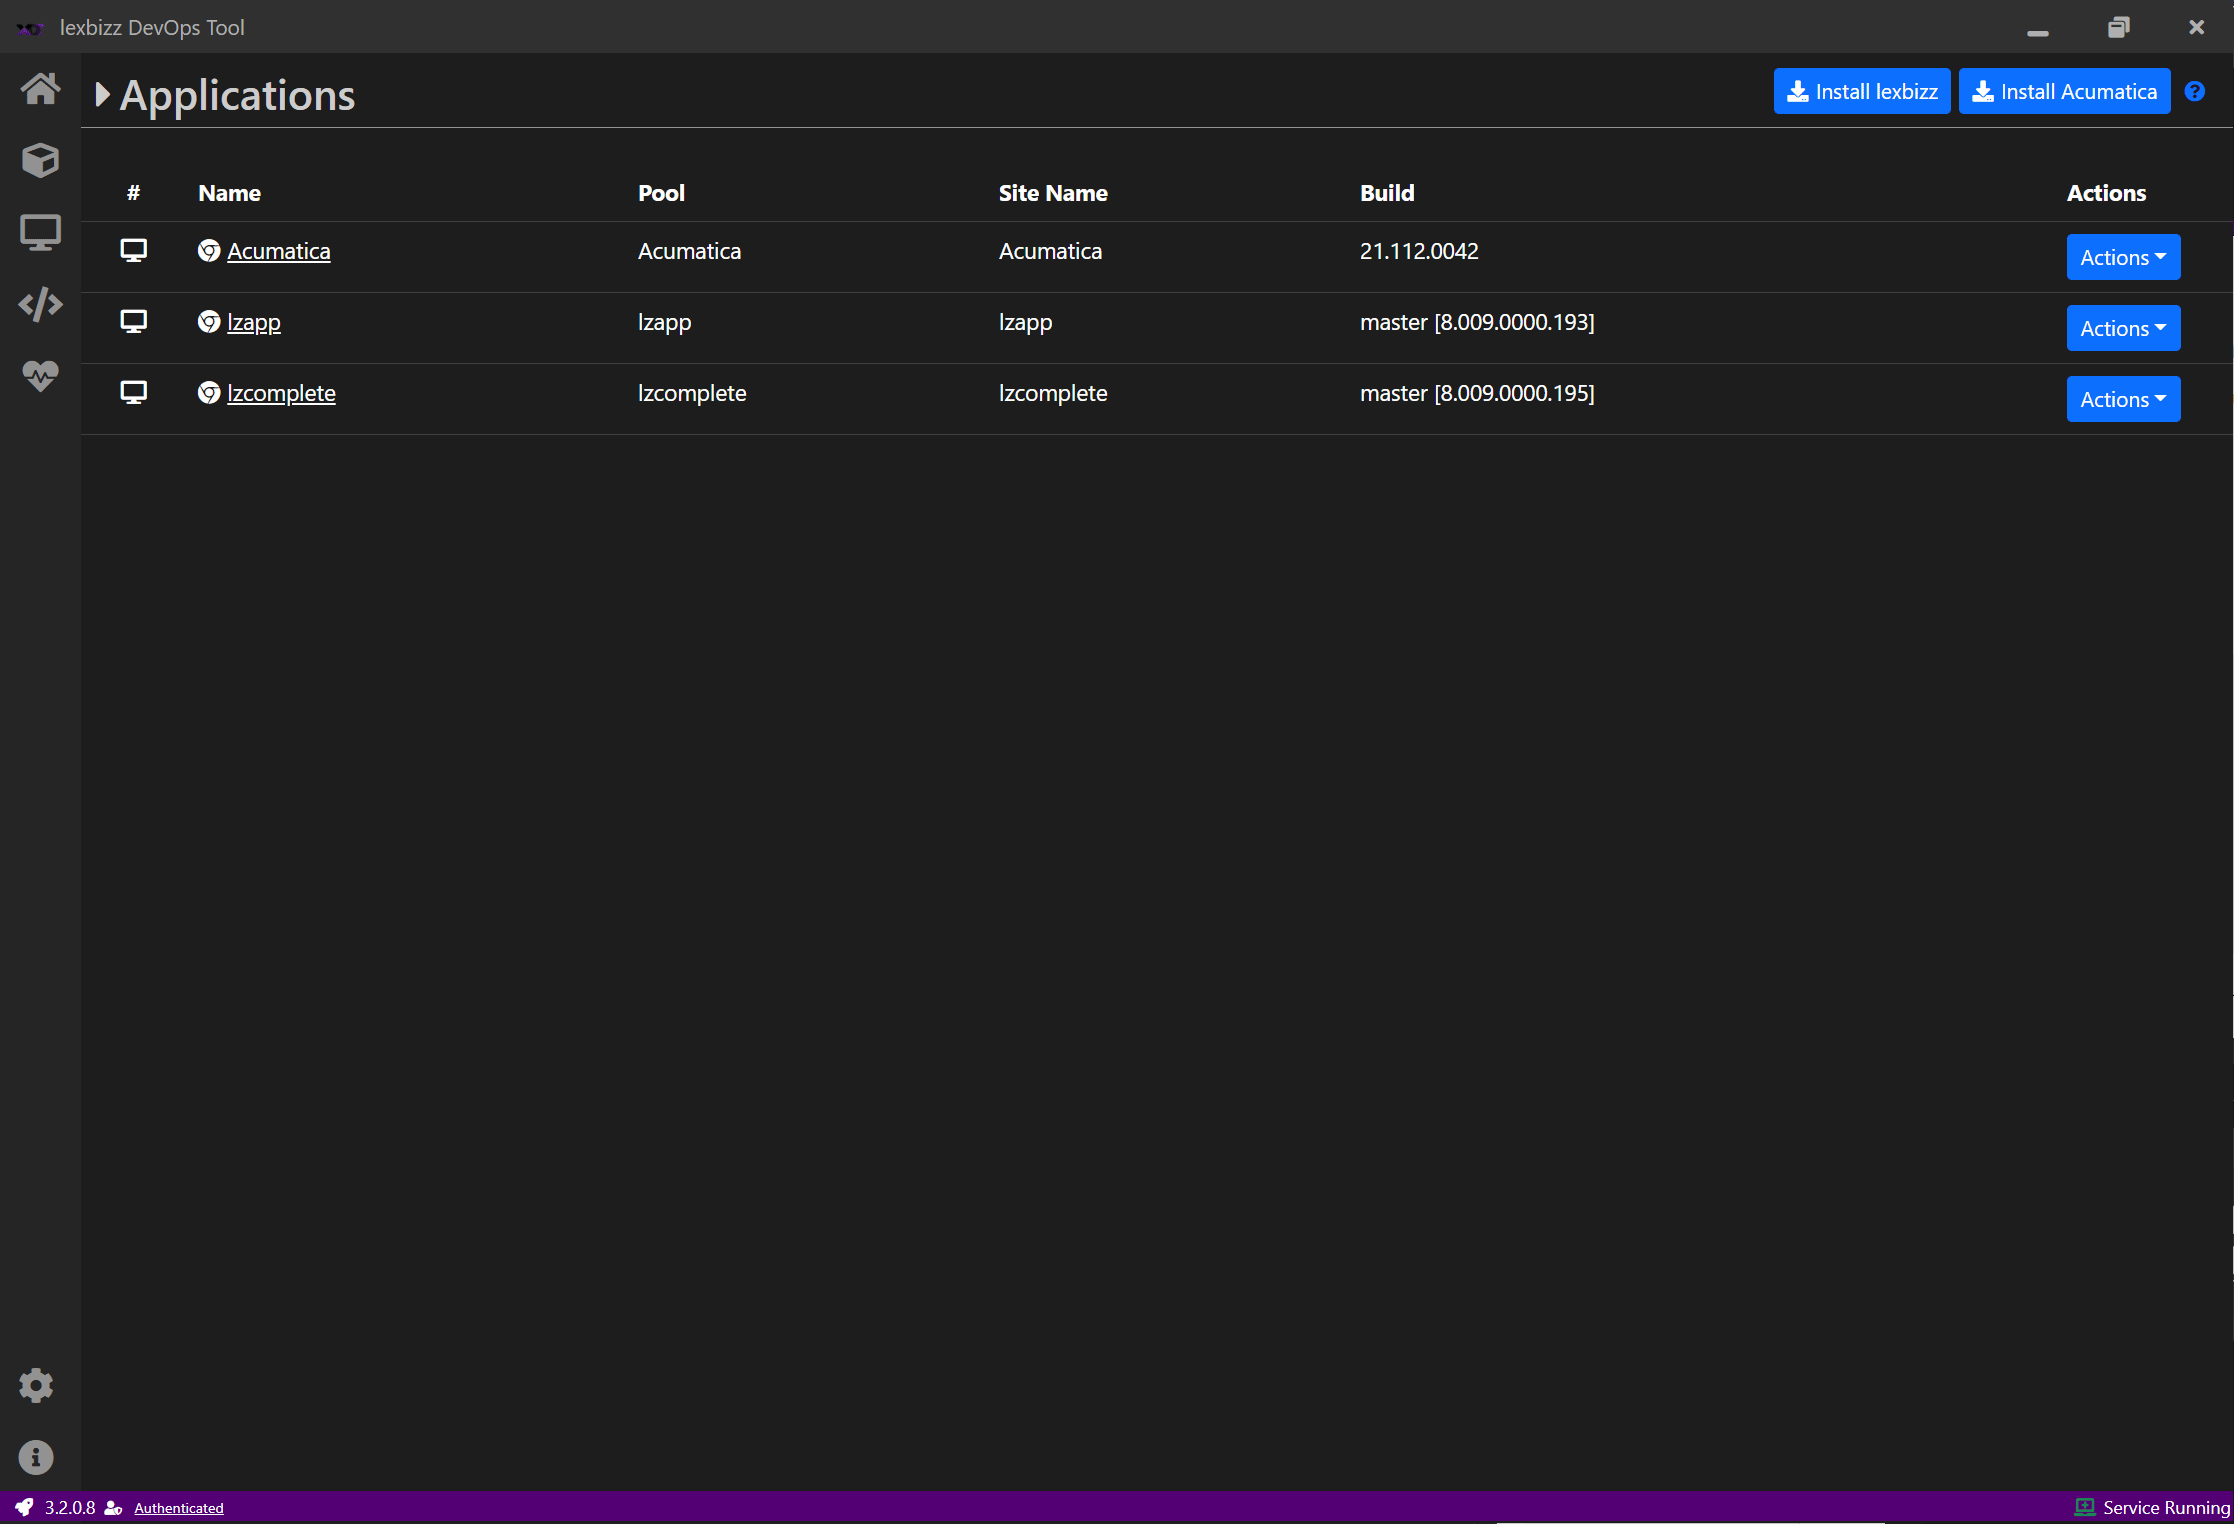
Manage Tenants for an installed Application
After installation of an application, you can Add or Delete tenants from the application. In order to do so, use following steps,
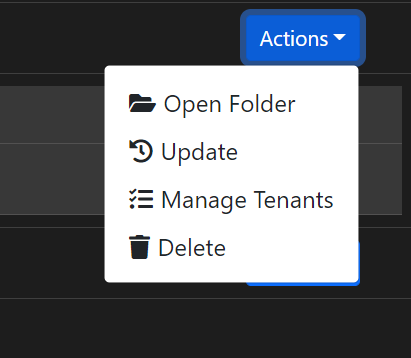
Go to the Applications screen
Click on Actions button on a row of an instance, to which you would like to Add/Delete tenants
Click on Manage Tenants option
On click, all tenants present on an instance are shown on the screen.
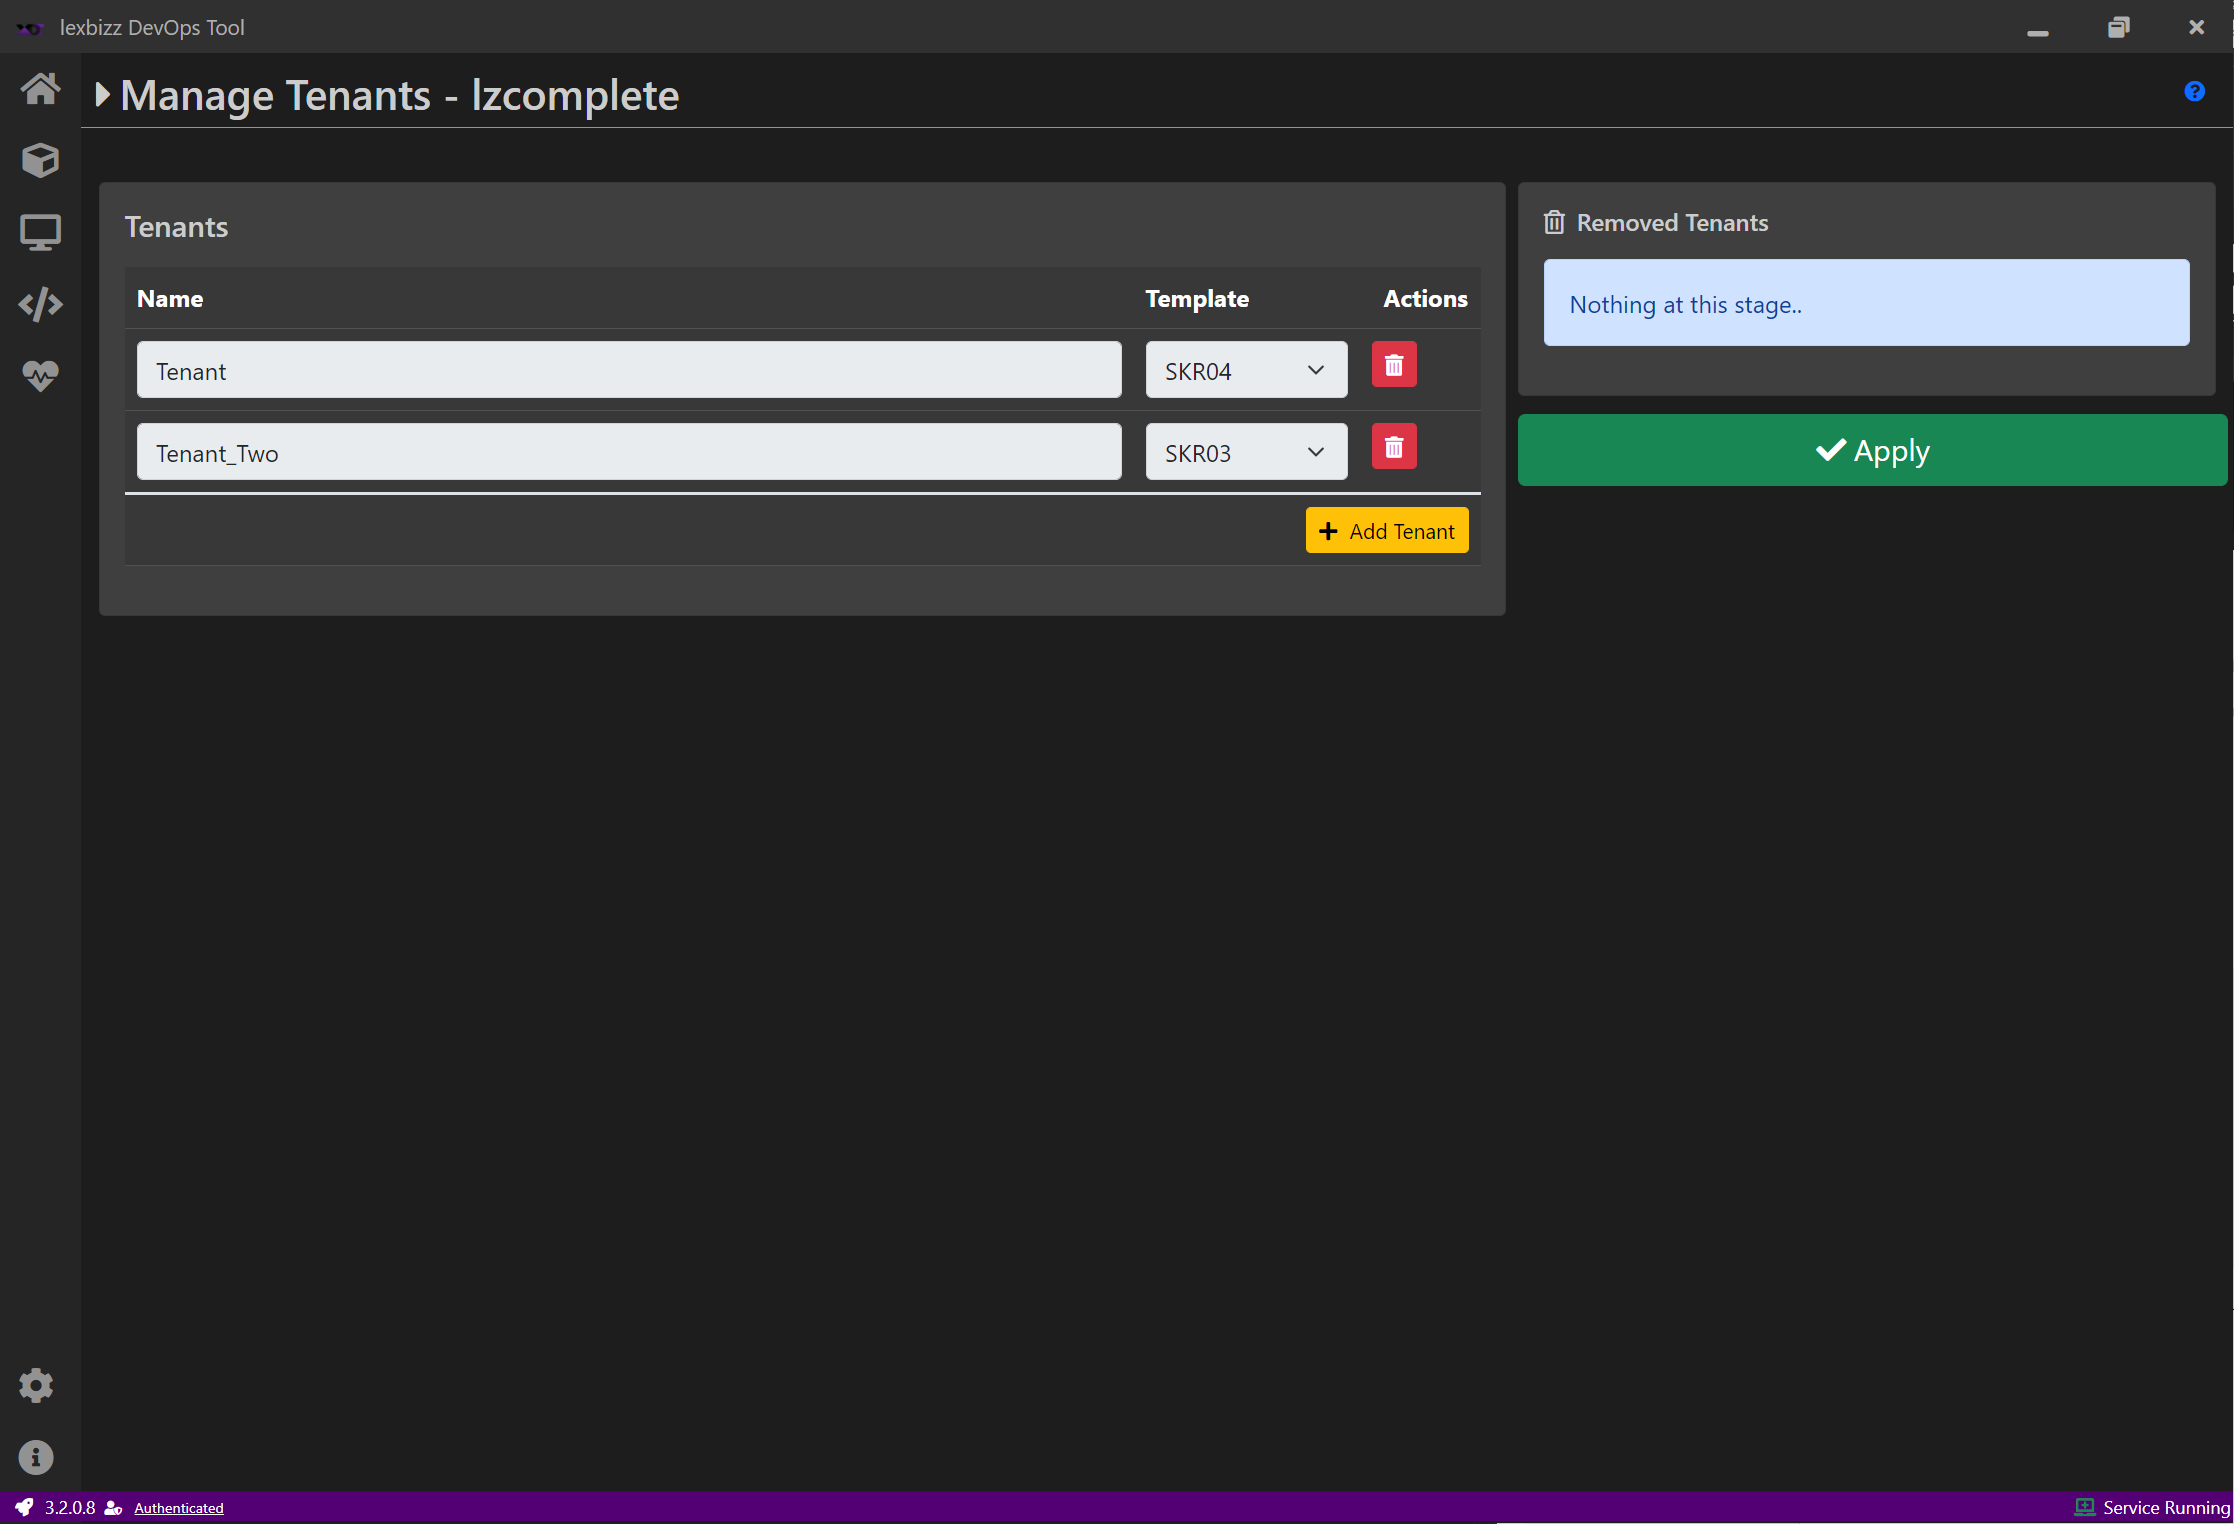
You can Add or Remove Tenants
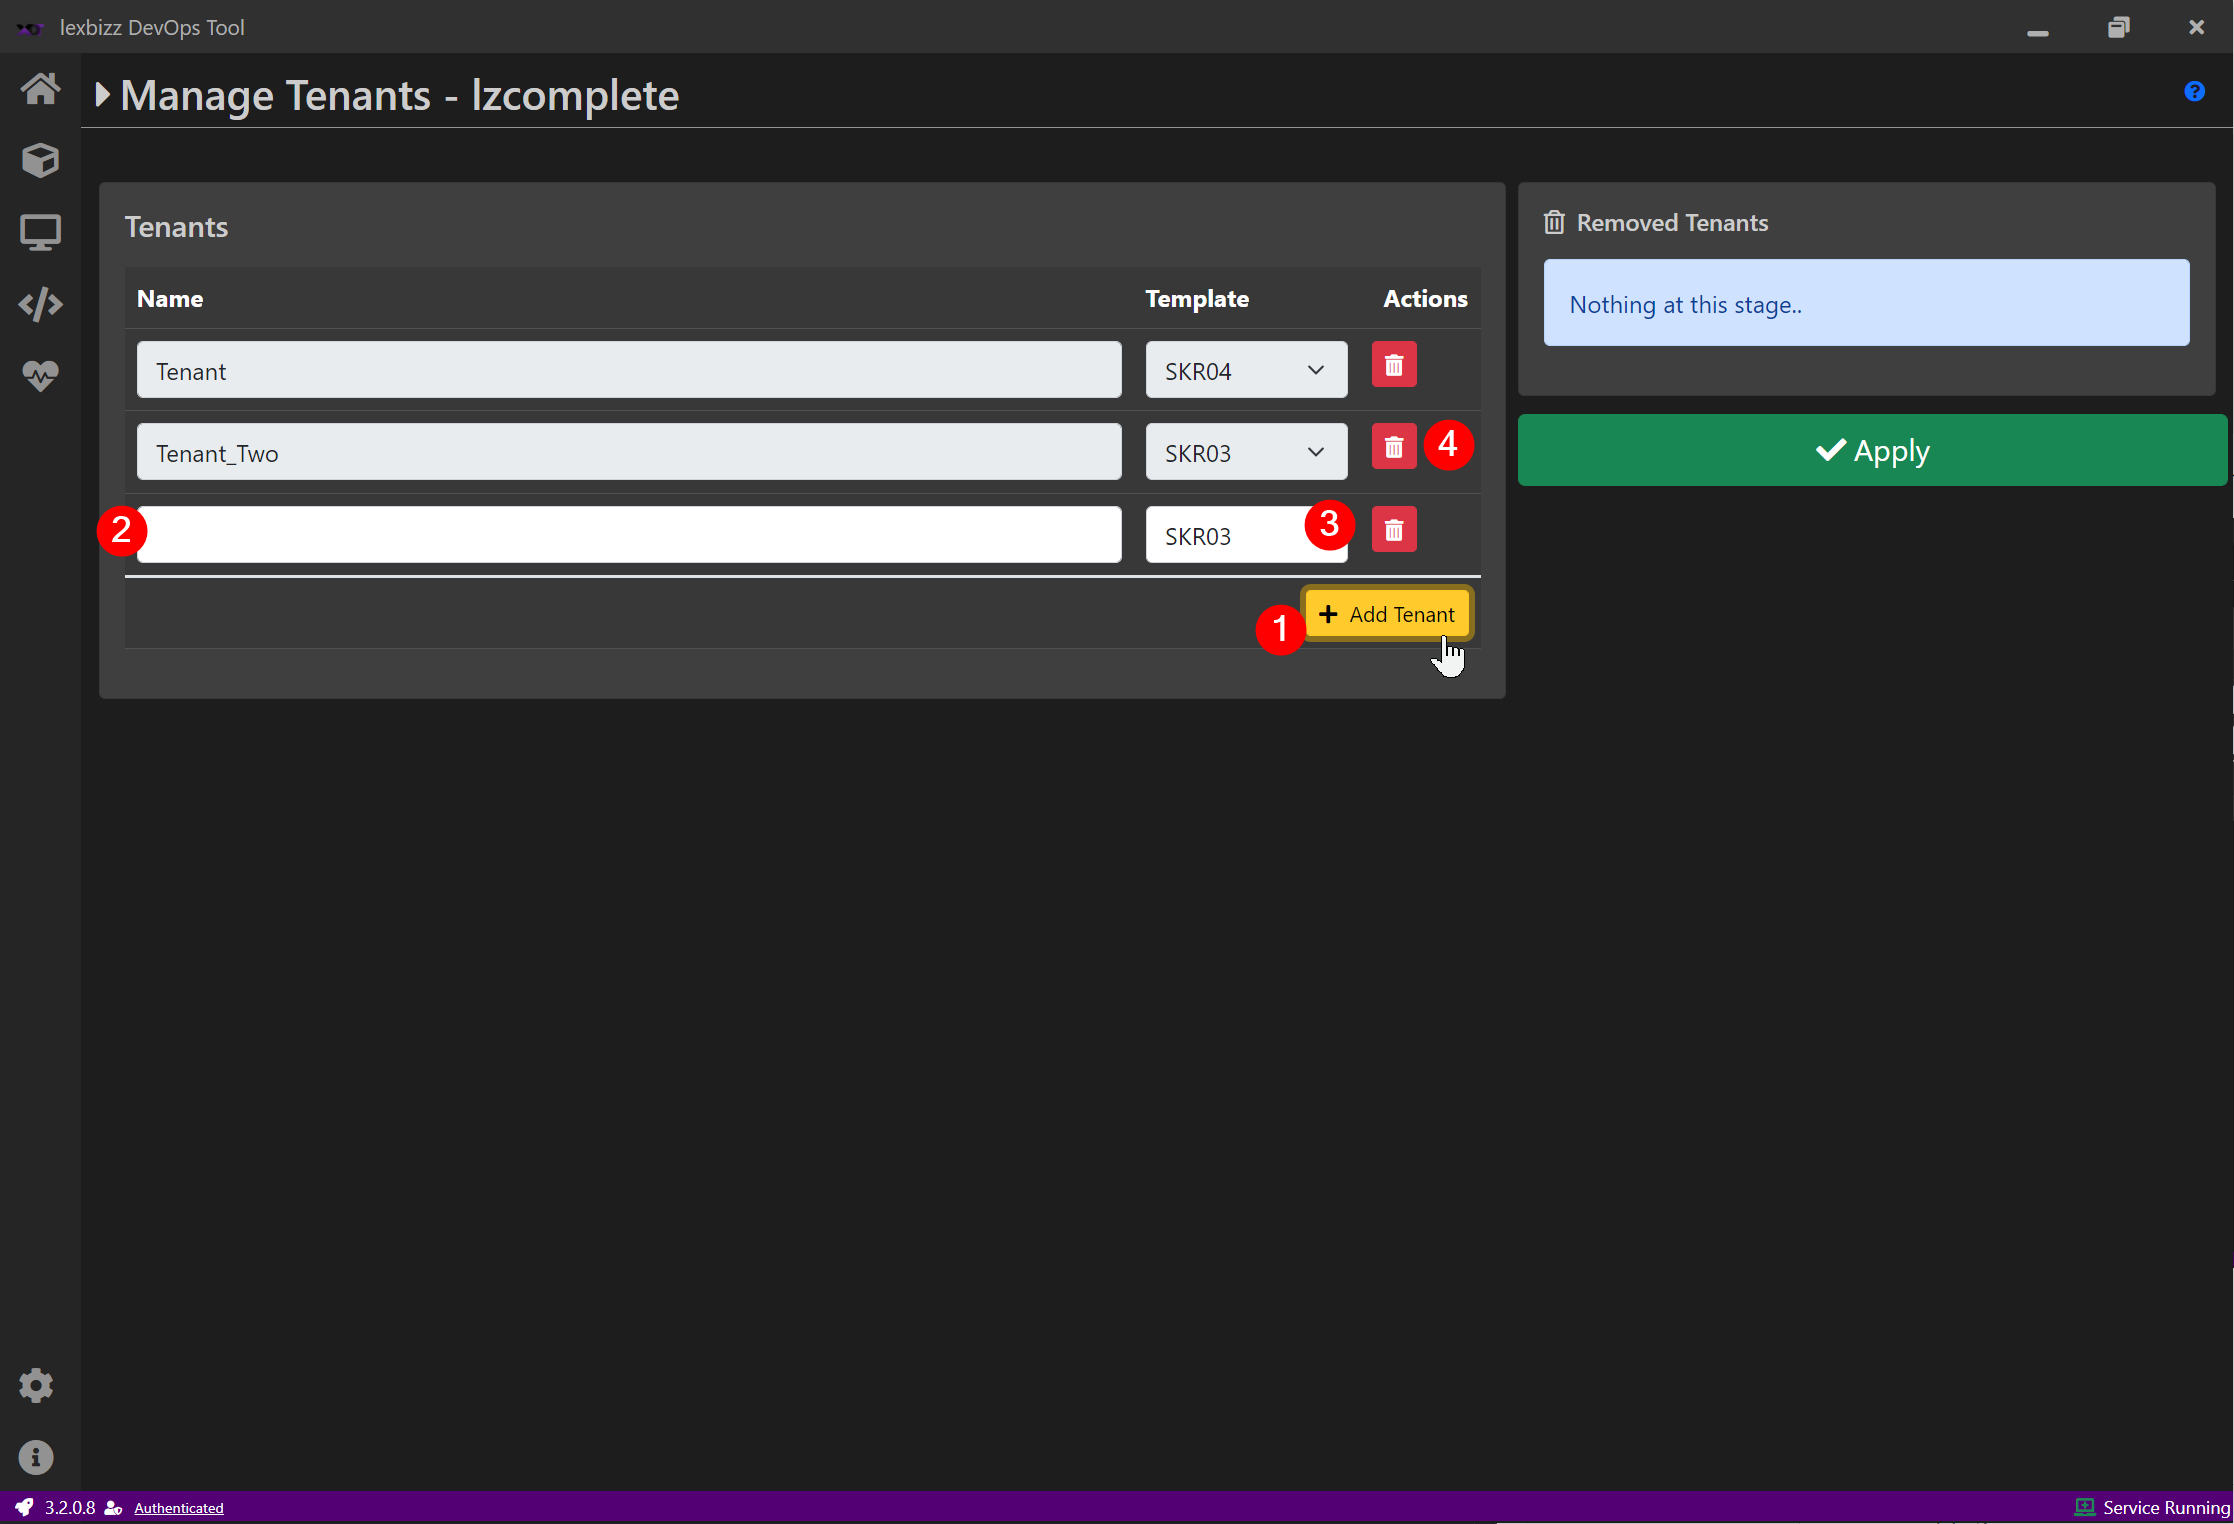
To add a New Tenant,
Click on Add Tenant
Enter Tenant Name (Unique)
Select Tenant Template
To remove a tenant, click on 🗑️ (Delete) button. Once removed, the tenant appears under Removed Tenants Section.
Once all changes are done, click on Apply

Available Tenant Templates
lexbizz
SKR03
SKR04
Acumatica
SalesDemo
U100
F200
C100
F300
I100